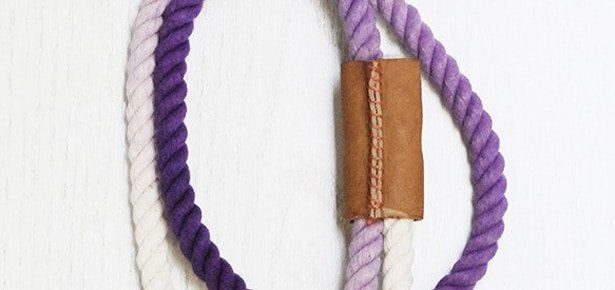

DIY Craft – Dip-Dyed Ombre Leash (part 2)
Make a leather clamp cover for your dip-dyed ombre leash
(Get the how-to for part one of the dip-dyed leash here)
MATERIALS
- Leather
- Craft Knife
- Embroidery Floss
- #18 Darning Needle
- Ruler
- Hammer
- Self-Healing Cutting Mat
HOW-TO
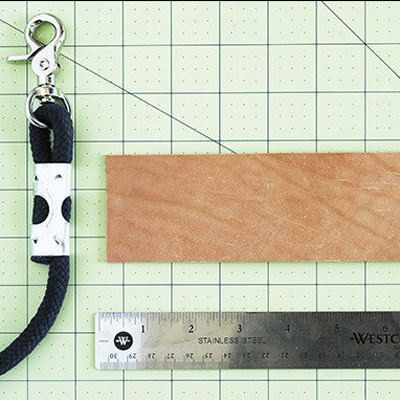
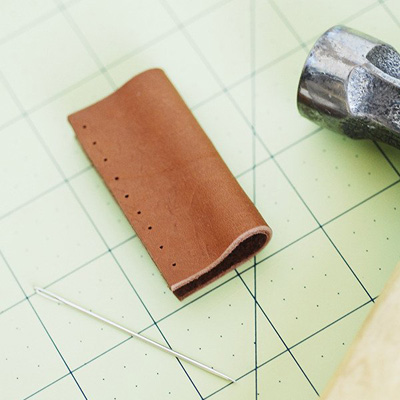
Step 1 Cut a strip of leather about 2.25" wide, or wide enough to cover the length of the clamp.
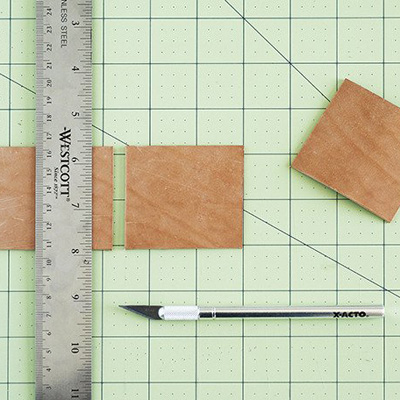
Step 2 From this strip, cut two pieces of leather, both about 2.5" long or long enough to wrap around the clamp.
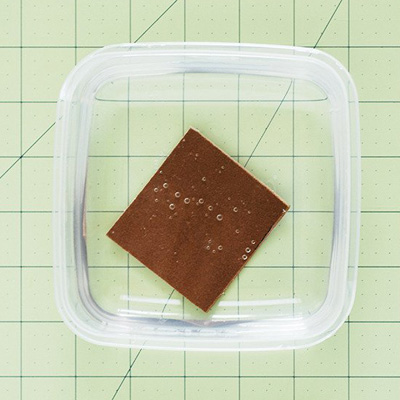
Step 3 Soak one of the leather pieces in warm water until it becomes soft and malleable. Stretch it out a bit then pat dry.
Step 4 Fold the leather over. Take a hammer and your darning needle and create some small stitch guides/holes anywhere from 1/8 to 1/4 inch apart. You only need a few light taps from the hammer, don't go crazy.
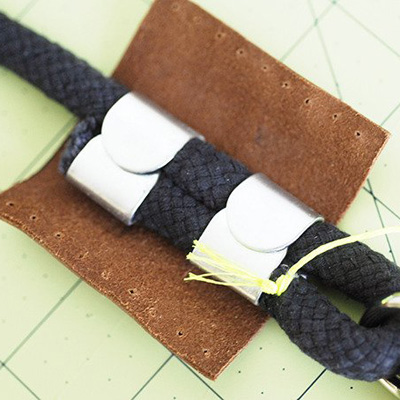
Step 5 Lay the leather on a flat surface, then position and place the clamp on top. Cut a length of embroidery floss and tie a knot at the end. Anchor the floss to the rope itself by looping and tying the thread a few times.
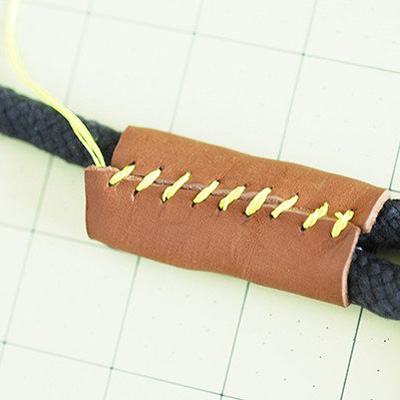
Step 6 Stitch the two ends of the leather together with a simple whip stitch, pulling tightly. When you reach the end, anchor the floss to the rope as before. Cut the thread.
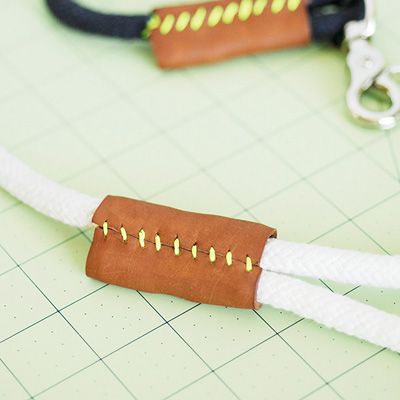
Step 7 Repeat steps 3-6 for the other clamp. Allow the leather to dry out completely (it'll tighten up around the clamp as it dries) and you're done!
Join the newsletter and never miss out on dog content again!
"*" indicates required fields
By clicking the arrow, you agree to our web Terms of Use and Privacy & Cookie Policy. Easy unsubscribe links are provided in every email.