DIY Craft – Pencil Cups
Just in time for back to school!
Click here to download stencils
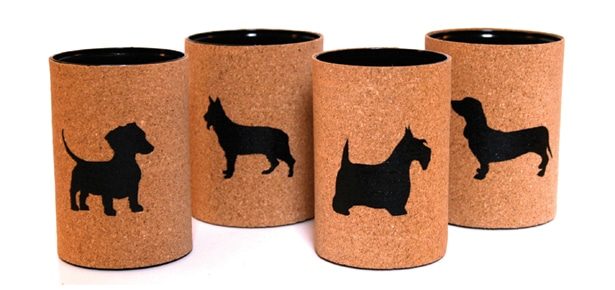
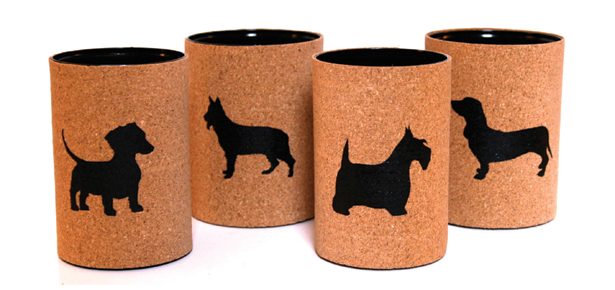
We’ve got the perfect DIY project to jazz up your desk and help you not just dig in but welcome a return to work and school. These cork-covered pencil cups with their cool canine silhouettes will keep you organized and remind you of your own creativity. We asked blogger and crafter extraordinaire Allison Patrick of The 3Rs Blog (the3rsblog.wordpress.com—those R’s would be for Reduce, Reuse, Redecorate) to show us how it’s done.
Who doesn’t love a good old recycled can? I’ve been turning them into pencil cups since I was 12, but recently perfected my technique and updated their look to match my more modern aesthetic. Here’s how to make your own:
SUPPLIES
• A recycled aluminum can
• Spray paint
• Roll of cork, available at craft stores
• Hot glue gun and glue sticks
• One full-sheet laser/ink jet mailing label
• Craft paint or house paint
HOW-TO
STEP 1 Give your clean, dry can a nice coat of spray paint in whatever colour you fancy. Paint the inside of the can first, then once its dry turn it over and paint the outside.
STEP 2 Take your roll of cork and cut a strip with a width equal to the height of your can and a length that will wrap around the can and overlap by 1/8″.
STEP 3 Have your hot glue gun plugged in and ready to go! Put one line of glue down the can’s seam edge and attach one end of your cork strip. Then, working slowly, apply a line of glue to just the top and bottom of your can (leave the middle unglued), attaching the cork as you glue. Add a thin line of glue down your first edge to secure the overlap.
STEP 4 Now you’re ready to jazz up your cup with a fun canine silhouette! Click here for an array of ready-to-print silhouettes. Print your silhouette to a full-sheet laser/ink jet mailing label. Using an X-Acto knife cut out your silhouette to create your stencil.
STEP 5 Peel off the sticker-backing and stick your stencil to your cork-covered can. Paint it in the colour of your choosing and carefully remove the stencil.
STEP 6 Now simply add pens and enjoy! I like the clean modern look of just the cork and the stencil, but if you wanted you could always add a strip of ribbon to the top or bottom for a little extra pizzazz. Make a whole family of cans in different sizes to suit all your desk organizational needs!
Join the newsletter and never miss out on dog content again!
"*" indicates required fields
By clicking the arrow, you agree to our web Terms of Use and Privacy & Cookie Policy. Easy unsubscribe links are provided in every email.
